
Follow along with detailed photos showing every step of our professional popcorn ceiling removal process, from prep to final smooth finish.
Visual Guide: Professional Popcorn Ceiling Removal
This detailed walkthrough shows exactly how we transform Burlington ceilings from dated popcorn texture to modern smooth finishes. Each step includes professional techniques that ensure dust-free work and flawless results.
For complete service details, visit our Burlington popcorn ceiling removal .
Step 1: Initial Assessment & Protection
Before any work begins, we assess your Burlington home's ceiling condition and protect everything in the workspace:
- Test for asbestos in pre-1980s Burlington homes
- Photograph ceiling imperfections and damage
- Cover floors with double-layered protective sheeting
- Mask all vents, light fixtures, and trim with painter's tape
- Set up negative air pressure with HEPA filtration units
- Install zippered plastic doorways to contain work area
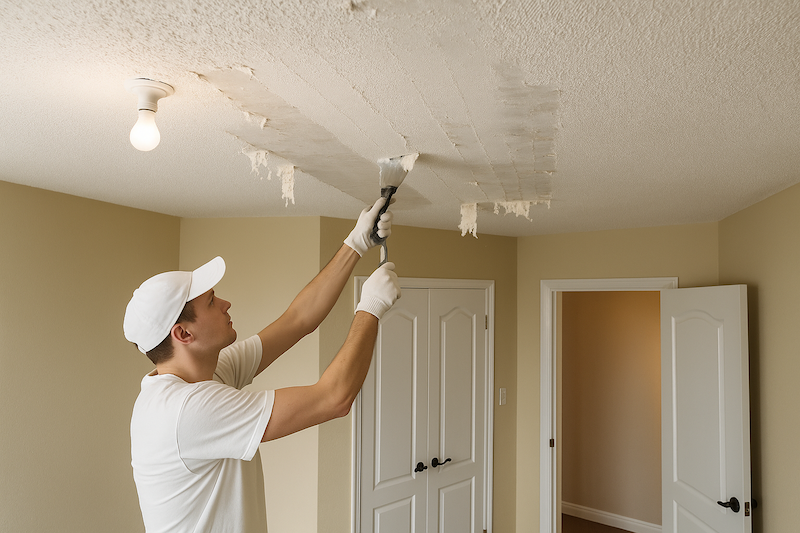
Step 2: Popcorn Ceiling Removal
The removal method depends on whether your Burlington ceiling has been painted:
Unpainted Popcorn: We lightly mist the ceiling with water and use wide scrapers to remove texture in controlled passes. The dampened popcorn comes off cleanly without creating excessive dust.
Painted Popcorn: Painted ceilings in Burlington homes (common in Aldershot and Millcroft) can't be wet-scraped effectively. We either use mechanical scraping tools or apply a Level 5 skim coat directly over the existing texture for a smooth finish.
Step 3: Repair & Patch Work
After removal, we address underlying issues common in Burlington homes:
- Fill nail pops and drywall seams with joint compound
- Repair cracks caused by settling (common in older Burlington foundations)
- Patch water stains from roof leaks or plumbing issues
- Feather edges around pot light cutouts
- Prime all patched areas with stain-blocking primer
Step 4: Level 5 Skim Coating
This is where ceiling transformation happens. Level 5 finishing creates perfectly smooth surfaces:
- First Coat: Apply thin layer of all-purpose joint compound across entire ceiling
- Drying Time: Allow 8-12 hours for complete drying
- Second Coat: Apply finishing compound, feathering all seams and imperfections
- Third Coat (if needed): Additional pass for high-end Burlington homes requiring perfect flatness
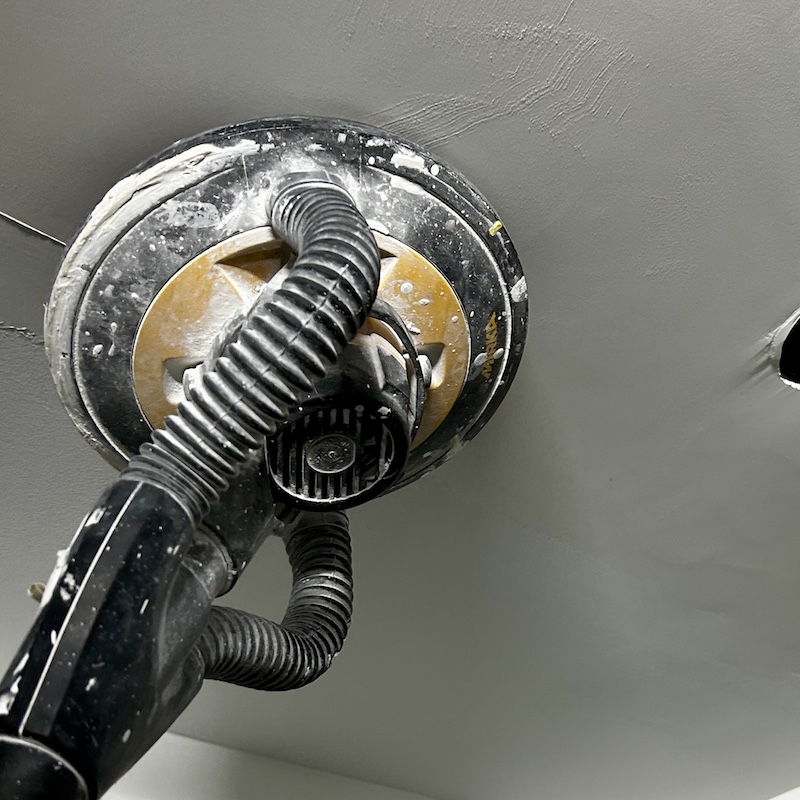
Step 5: HEPA Vacuum Sanding
Our dust-controlled sanding keeps your Burlington home clean:
- Attach HEPA vacuum directly to orbital sanders
- Sand entire ceiling surface using 220-grit sandpaper
- Capture 99% of dust particles before they enter your home
- Use shop lights to check surface smoothness
- Repeat sanding in areas that show imperfections under raking light
Step 6: Raking Light Inspection
This critical step separates professional results from amateur work:
We shine bright work lights at severe angles across your ceiling surface. This harsh lighting reveals every bump, ridge, or imperfection. Any issues found get additional skim coating and sanding until the ceiling is perfectly flat.
Step 7: Prime & Seal
The final preparation before paint:
- Apply premium stain-blocking primer (essential for Burlington's humidity)
- Seal all joint compound to prevent paint absorption differences
- Create uniform surface that accepts paint evenly
- Allow 4-6 hours drying time before painting
Step 8: Complete Cleanup
Your Burlington home stays spotless throughout:
- HEPA vacuum all surfaces including walls and trim
- Damp-wipe all horizontal surfaces to remove fine dust
- Remove all protective plastic and tape
- Inspect floors and furniture for any debris
- Final walkthrough with homeowner to confirm satisfaction
Burlington-Specific Tips
Humidity Control: Burlington's proximity to Lake Ontario means higher humidity. We schedule projects during drier months when possible and use dehumidifiers to speed drying times.
Condo Considerations: Downtown Burlington condos require special coordination. We book elevators in advance, protect common areas, and work within building quiet hours.
Heritage Homes: Older Burlington homes near downtown may have plaster ceilings beneath popcorn texture. We take extra care to preserve original plaster and repair only what's necessary.
Timeline for Burlington Projects
Standard bedroom (12x14): 1-2 days
Living room (18x20): 2-3 days
Whole home (2,000 sq ft): 5-7 days
Times include complete setup, removal, Level 5 finishing, and cleanup.
Cost Breakdown
Understanding pricing for Burlington ceiling projects:
- Basic Removal: $3-4/sq ft (unpainted, standard height)
- Painted Removal: $5-6/sq ft (requires extra work)
- High Ceilings: Add $2/sq ft (10+ feet high)
- Repairs: $75-150 per significant patch
- Prime & Paint: Add $2-3/sq ft if desired
Ready to Start?
Send us photos of your Burlington ceilings for a same-day quote. Visit our main service page for more information. Include room dimensions and ceiling height for accurate pricing. We'll walk you through the entire process and answer any questions about your specific project.
Need Popcorn Ceiling Removal?
Professional dust-controlled removal with Level 5 smooth finish. Paint-ready in 24h.
Burlington Service Areas
We serve all Burlington neighborhoods with local crews.
- Downtown
- Aldershot
- Millcroft
- Tyandaga
- Headon Forest
- Brant Hills
Popcorn Ceiling Removal Burlington Team
Our Burlington-based team of ceiling specialists brings years of experience in popcorn ceiling removal, Level 5 finishing, and interior painting. We're dedicated to providing dust-controlled, professional service that transforms your home with minimal disruption.
Related Articles
Popcorn Ceiling Removal Pricing Guide in Burlington (2026): Finish Levels and Scope Options
Compare basic removal, repair, skim coat, and painted-popcorn scope options in Burlington. This guide explains what affects pricing, what each finish level includes, and which option usually fits best.
Painted Popcorn Ceilings in Burlington: Which Neighborhoods Usually Need Skim Coating
Many Burlington ceilings have been painted at least once, which changes the removal plan. Here is how painted popcorn ceilings are handled across Burlington neighborhoods, and when skim coating makes more sense than scraping.